Google Search Console - Setting Up Your Account
If you run a website for your business (which you definitely should be doing!), your number one goal should be driving your customers to that website. And to help you with that goal, is the Google Search Console. This tool is a free service offered by Google, which allows webmasters to monitor and maintain your site’s status in Google search results. While Google does not disclose the specific details of its ranking algorithms, they do provide Search Console Tools to help you better understand how Google views your website and then help you make changes to better optimize its performance.
Why use Search Console?
Google has listed a number of reasons as to why it’s important for you to use Google Search Console for your website:
Monitor your site’s performance in Google Search results:
- Make sure that Google can access your content
- Submit new content for crawling and remove content you don’t want shown in search results
- Create and monitor content that delivers visually engaging search results
- Maintain your site with minimal disruption to search performance
- Monitor and resolve malware or spam issues so your site stays clean
Discover how Google Search—and the world—sees your site:
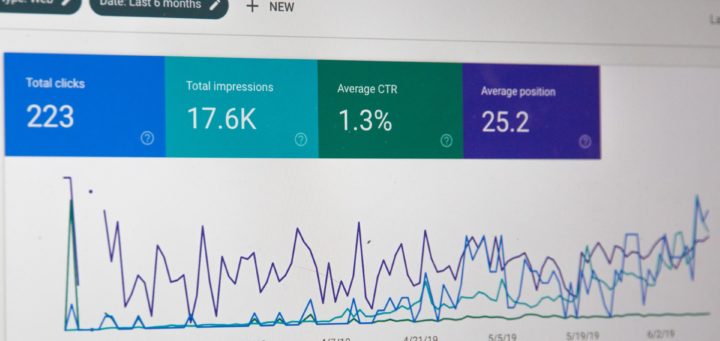
- Which queries caused your site to appear in search results?
- Did some queries result in more traffic to your site than others?
- Are your product prices, company contact info, or events highlighted in rich search results?
- Which sites are linking to your website?
- Is your mobile site performing well for visitors searching on mobile?
As useful as Google Analytics is on its own, it’s even more useful when used in conjunction with Google Search Console. Having access to both (free!) tools for your website allows you to both monitor and track your website traffic and related data, while also ensuring your site stays as optimized as possible.
Setting Up Your Account
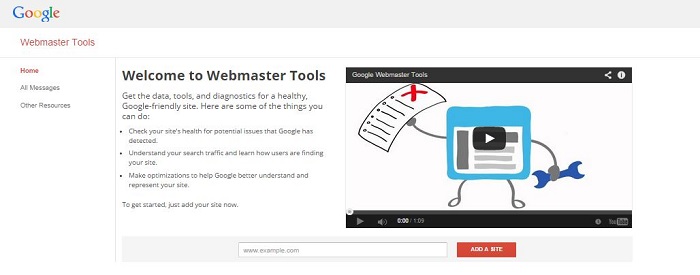
First, login to your Google account and then head to http://www.google.com/webmasters/tools/ and click on “Add a Property” and then add in your site’s URL.
 The next step is verifying that you are the site owner. The easiest way to do this is verifying through your Google Analytics account, by clicking on the “Alternative Methods” tab. However, you will need to ensure that you are set up with administrator permissions in order to use this method (and then all you need to do is click “Verify” and as long as you are logged into your Search Console account with the same login as your Google Analytics account, that’s all it takes!).
There are a few other user verification options to use if you have not yet set up your Analytics account:
HTML Tag: If you have the ability to edit your website’s HTML code through your website editor (ie: WordPress), select the “HTML tag” option. All you need to do is copy the text that Google displays (starting with <meta name=…), and then open up your home page in your website editor. Paste this new Meta tag into the <head> section and make sure you save your changes. Then you can click on the “Verify” button in Search Console to finish the process.
Domain Name Provider: Filter through the drop-down list to find the company through which your website domain is registered and follow the instructions provided.
Google Tag Manager: Login to your Google Tag Manager account (again, this will work only if you have administrator permissions) and “Verify”
HTML File Upload: Download the HTML verification file provided and upload to your website through your website editor. Confirm the successful upload by clicking on the link listed and “Verify”. To stay verified, do not remove the HTML file from your website editor, even after it’s been processed.
Once you have verified that you are a site owner using one of the methods listed above, your Search Console account will be ready to use! However, if you are setting up an account for the first time, it may take a few days for data to begin flowing through…although this can be expedited by submitting a sitemap to the search engine for indexing.
What is a Sitemap?
A sitemap is a file that is literally like a roadmap for Google, telling it what pages you have on your website, so that it can crawl the data and pages more quickly, getting more of your content showing up on the Search Engine Results Pages (SERPs).
If you are using WordPress to manage your website, there is a simple XML Sitemaps Plugin that you can install, that will build a sitemap for you based on the setup of your WordPress site. You can also follow the step by step guide provided by Google Webmaster, but if that language is foreign to you, then you can also find a number of XML Sitemap Generators to help create your sitemap.
We hope this post was useful to you in setting up your new Google Search Console account. Stay tuned for our next post, where we will be discussing how to use this new tool, and which information provided will be the most beneficial for your website. Make sure you sign up for our newsletter, and you’ll never miss a post!


